Painting Kitchen Cabinets
Painting Your Kitchen Cabinets is Like a Kitchen Remodel at Half the Price!
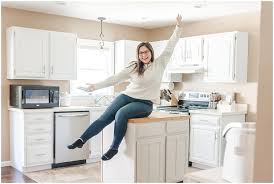
Painting Your Kitchen Cabinets can be one of the most satisfying changes you can make to your home. It's also something you can do yourself and at a budget that is way more affordable than you think.
New cabinets can cost anywhere from $15,000-$50,000 depending on the size of your kitchen.
While the investment is often worth the cost, you might find that a simple paint refresh will be more than enough to make your kitchen feel like new.
It will cost you a few days of your time, a bit of investment in learning a few tips and tricks and a few hundred dollars worth of materials.
The tools you'll need for this project are easy to learn, relatively inexpensive, and the skills you'll learn along the way will be invaluable.
So, let's get into what a
project like this might look like and how you can turn your kitchen into
a showplace within one week's time.
Painting Your Cabinets is Easier Than You Think!

On the surface, this job might seem like something you should leave to the pros.
But with just a little time invested in understanding the process, you'll see just how easy (and satisfying) painting your kitchen cabinets can be.
You don't need to be a skilled painter, craftsman or know anything about home improvement to take this on.
While it's definitely labor intensive, this is a project that literally anyone can do from start to finish.
Painting Your Cabinets Will Transform Your Kitchen!
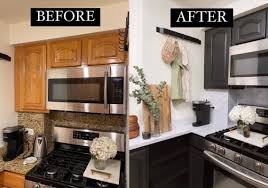
Your cabinets are the centerpiece of your kitchen and you'll be truly amazed at how much the feeling and freshness transforms simply by taking on this project.
The before and after of the typical kitchen cabinet paint job are truly stunning.
So let's get started!
What Will Your New Cabinets Look Like?
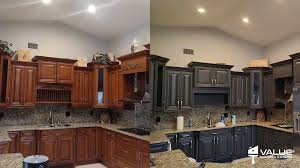
We'll show you detailed how-to videos below, but this project has essentially five basic steps:
1. Prep, Mask & Clean
2. Detach Cabinet doors and drawers
3. Sand, Clean and Prime
4. Paint, Recoat
5. Touch Up and reassemble.
It's essentially a five day process depending on how large your kitchen is and how many of your kitchen cabinets need to be painted.
But essentially, you'll start by first imaging what you want your new kitchen to look like.
Consider all your options. What color do you want? How will that blend with your backspalsh, countertops or flooring?
If you have an island, do you want those cabinets to be an accent color for a little contrast?
Have some fun here and stretch your imagination. Use the team at Home Depot or Lowe's and have them show you what your options might be.
Consider using apps like Houzz or ColorSnap Visualizer from Sherman Williams to see what your cabinets might look like once they're completed -- BEFORE you put an ounce of paint on the wall!
This will help you ease any anxiety you might have over your choice of color before diving in.
Painting Your Cabinets: Clean, Mask & Prep
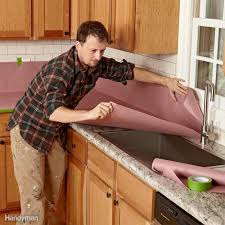
This is honestly the most difficult part of the entire project. It takes the longest and is the most time consuming.
But, you have to nail this part. The outcome depends on how this goes.
You want to start by masking anything and everything that you don't want to get covered in paint.
That includes your ceiling, your floors, your countertops, the inside of the cabinet box and any doors or appliances that you can't move.
You can use a combination of materials for this process, but here are a couple of our favorite tools to help with this:
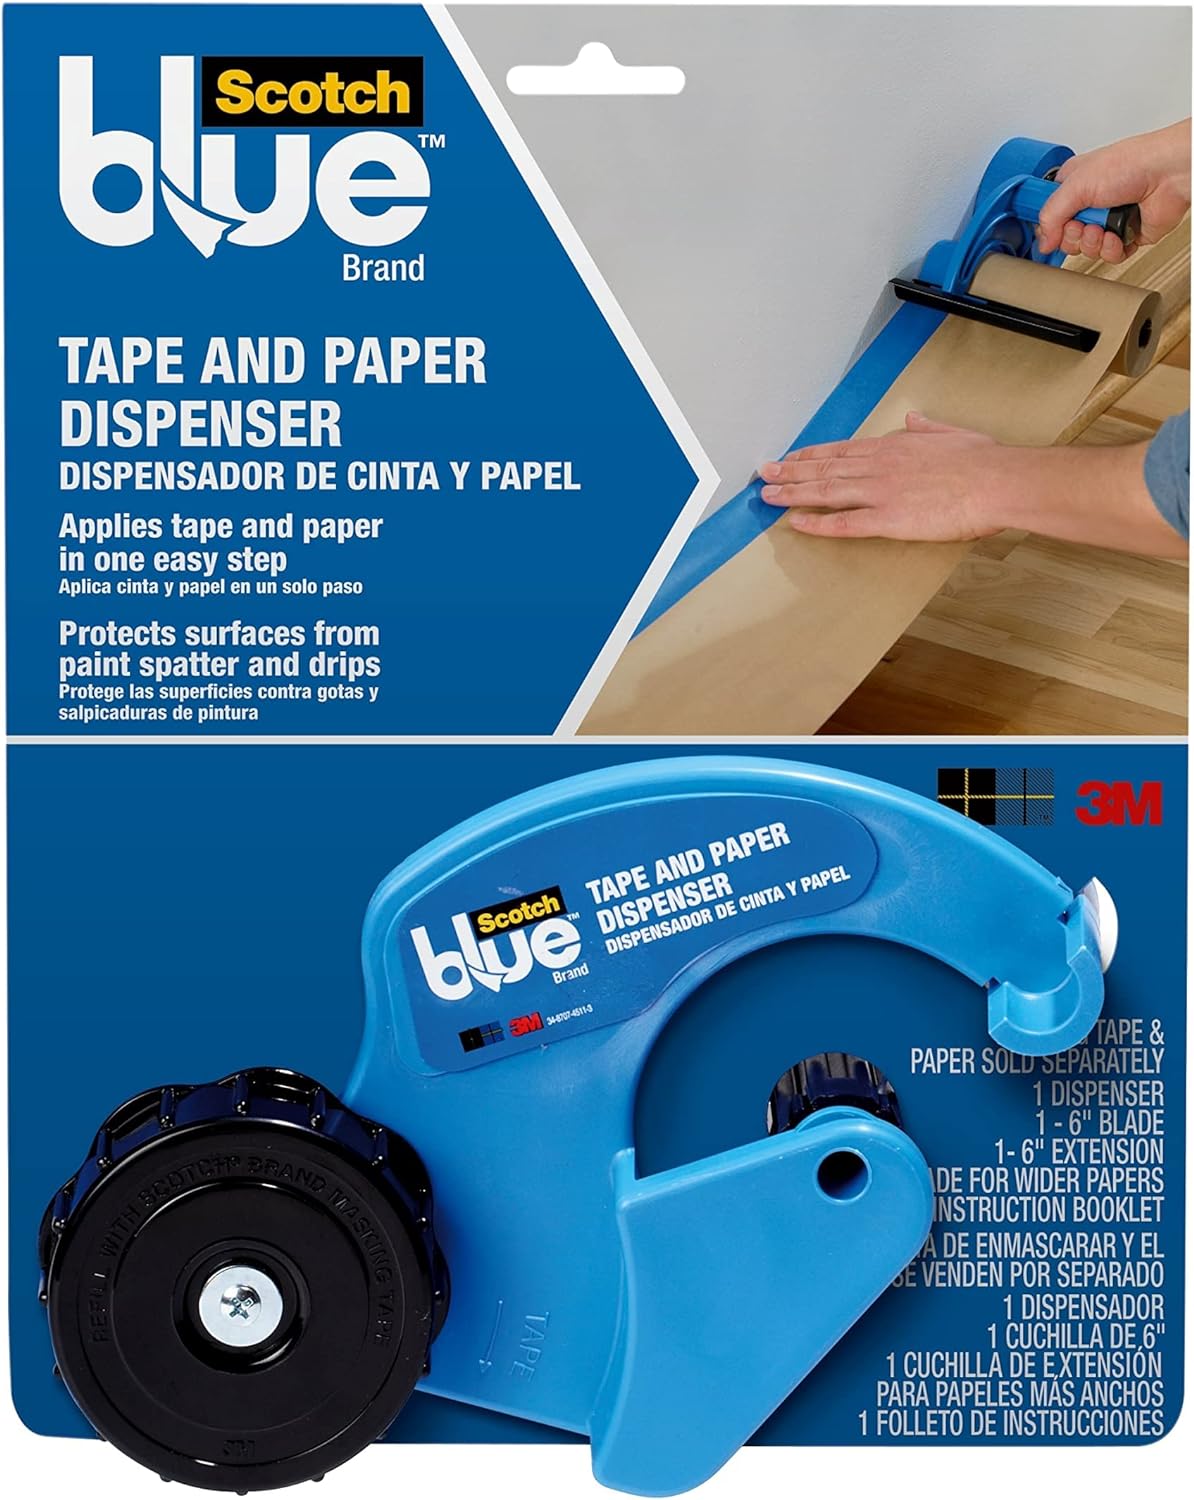
This little tool is just under $20 and allows you to add both tape and masking paper to an area in one move.
Saves time, material, energy and frustration.
It's one of our absolute go to tools and you can find it here!
itOne of the biggest problems with painting your kitchen cabinets is the amount of dust that's raised.
To keep this problem at bay, we highly recommend the Zip Wall.
This item will keep dust from your work area from floating all over your house.
And trust us, the dust will be everywhere. So help make this a non-issue with this handy dandy accessory.
Buy it here!
Detaching Your Cabinet Doors
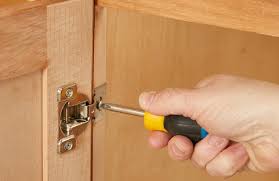
This step might seem a bit more challenging than it actually is.
You'll want to remove all of the doors and drawer faces from your cabinets so you can sand, prime and paint them separately.
You don't need to remove the cabinet boxes from the wall as you're just working on the cabinet doors themselves. You'll paint the frames and boxes on the wall.
The trick to properly removing your kitchen cabinets is to be sure you know which pieces go to which cabinet (hinges, screws, drawer pulls, etc.) and which cabinets go where.
Be sure to take the time to NUMBER each cabinet. We usually will put a piece of blue tape near the cabinet we removed, so we'll know that Cabinet number 29 goes where the number 29 is hanging.
This might seem like we're over explaining something basic here, but you'd be surprised how few people take the advice here and just think they'll remember.
So, to avoid eight hours of hell trying to remember what goes where, spend two hours up front and mark each and every piece of hardware and cabinetry.
Clean Your Kitchen Cabinets!
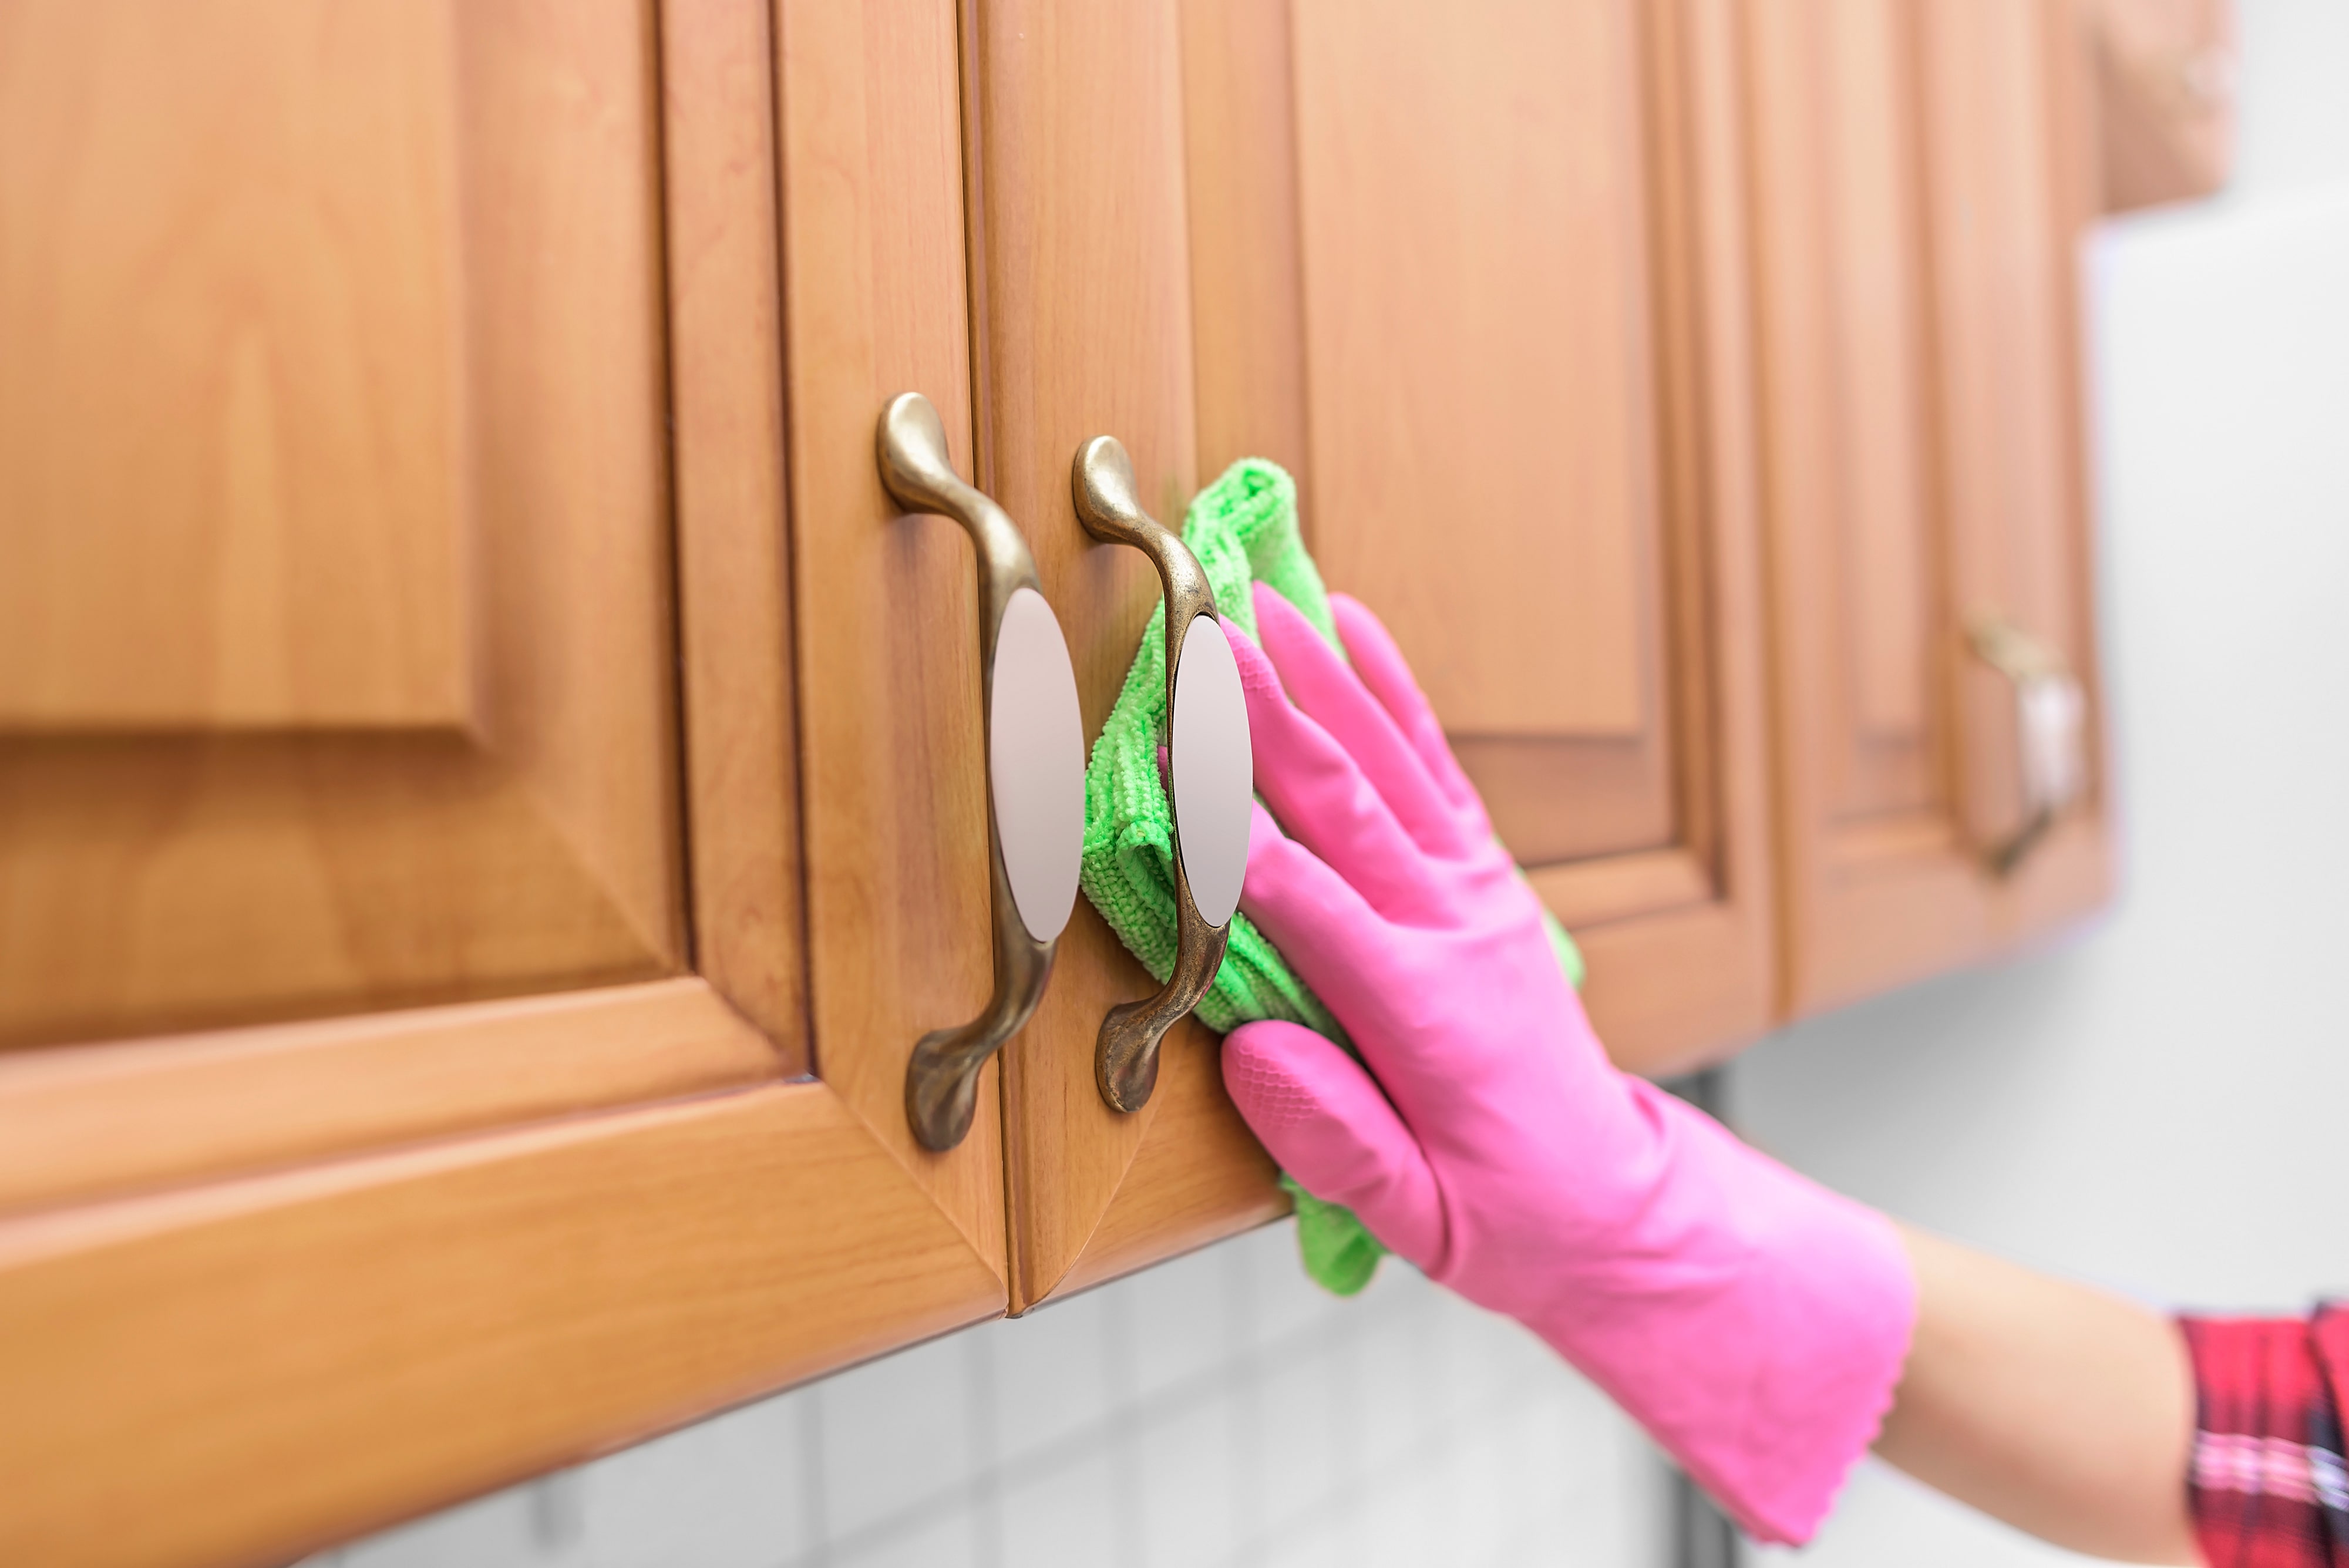
Before you start to paint, you want to be sure your cabinet doors and boxes are as clean as possible. Any residue will affect the overall quality of the outcome so take your time with this step.
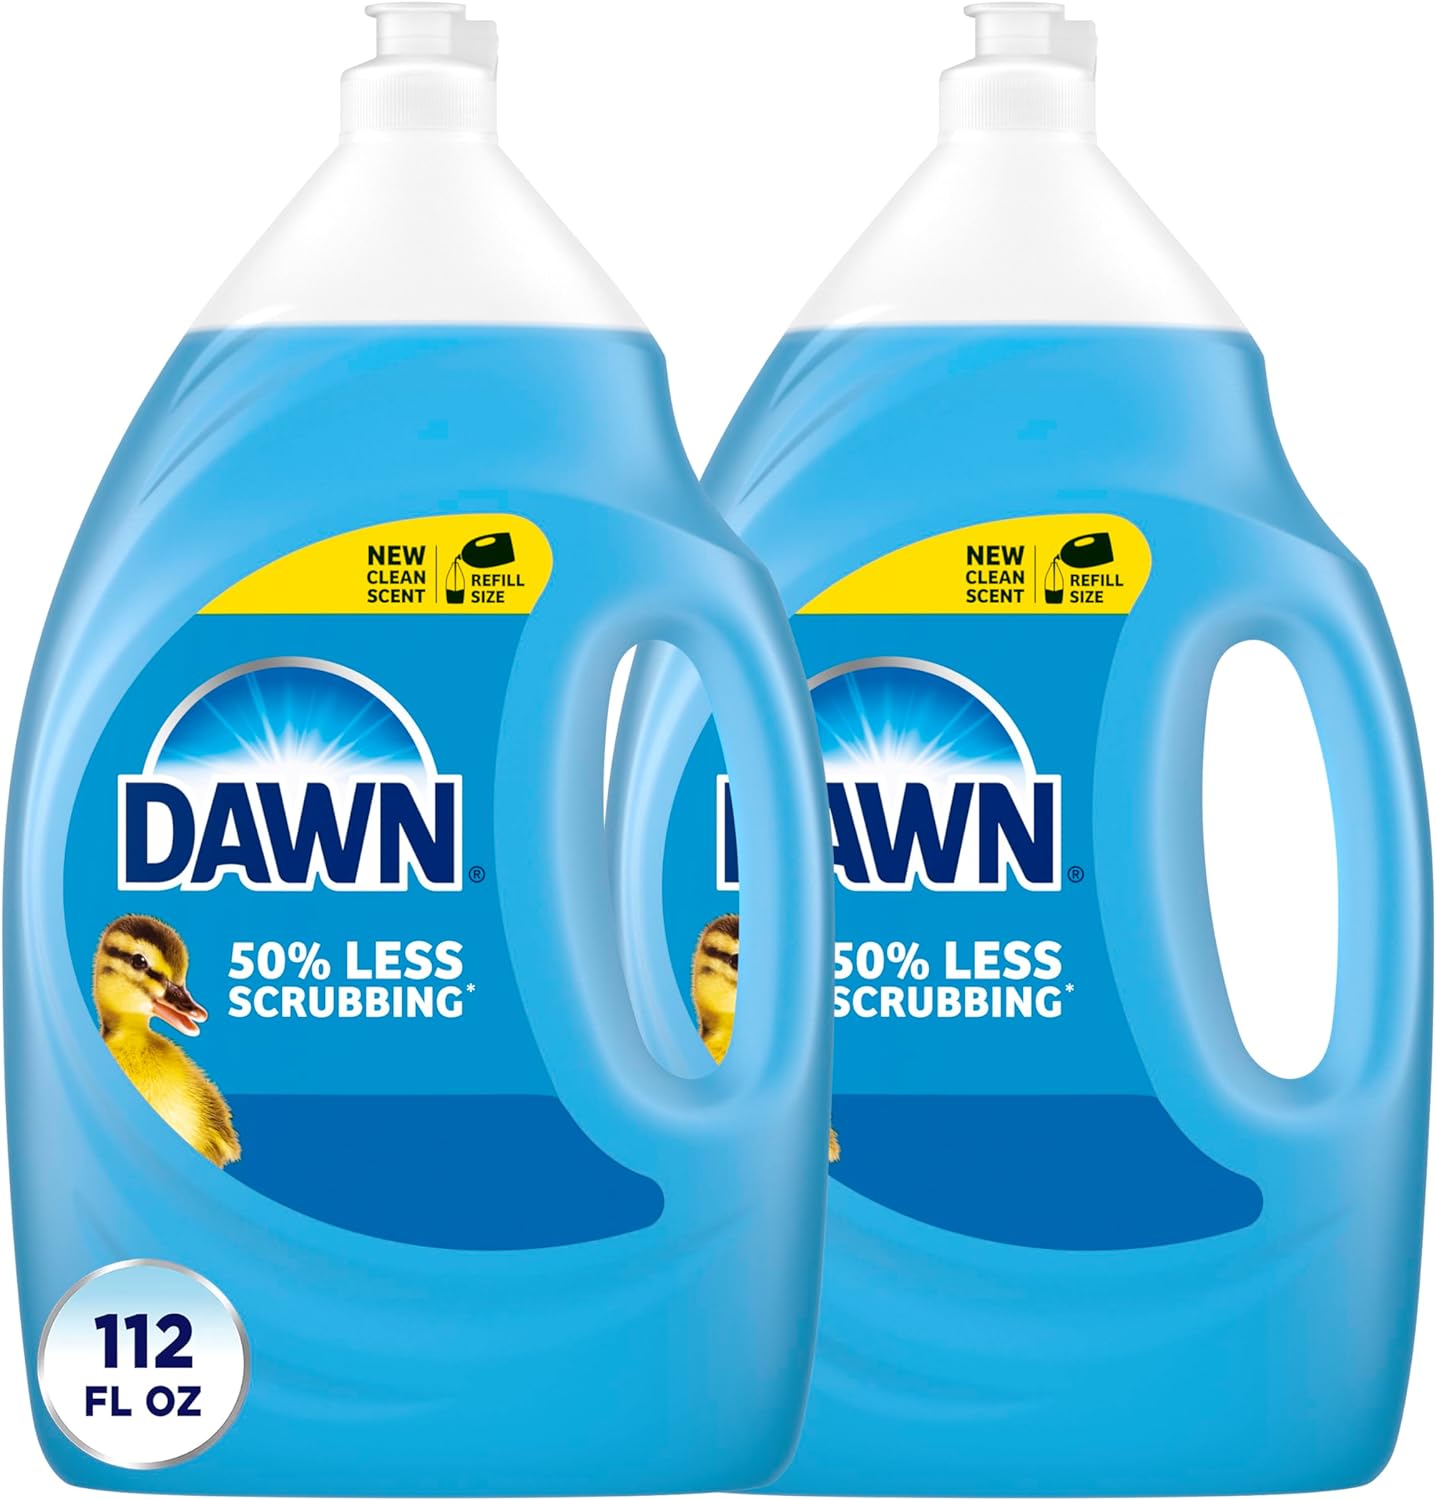
Start by using a mixture of DAWN SOAP and water.
Dry thoroughly and then give a light sand to all surface areas. You're not trying to remove the old paint, you're simply roughing up the area for the new paint to be able to adhere.
Once you've sanded, vacuum your work area and again, wipe everything down.
Any grit or dust could end up settling on your paint and once there, it's very hard to remove.
Why Dawn?
Dawn cuts through old kitchen grease better than almost any cost effecdtive dish soap out there.
It's also gentle enough to avoid causing any undo damage to the wood on your cabinets.
But it here!
Prime, Paint and Recoat!

Now for the fun part! The actual painting process!
You'll want to start by making sure everything is clean and dust free.
Remember, any dust that ends up on your cabinets during the painting process is usually there for life!
Start With Priming!
Finally! Time to start painting.
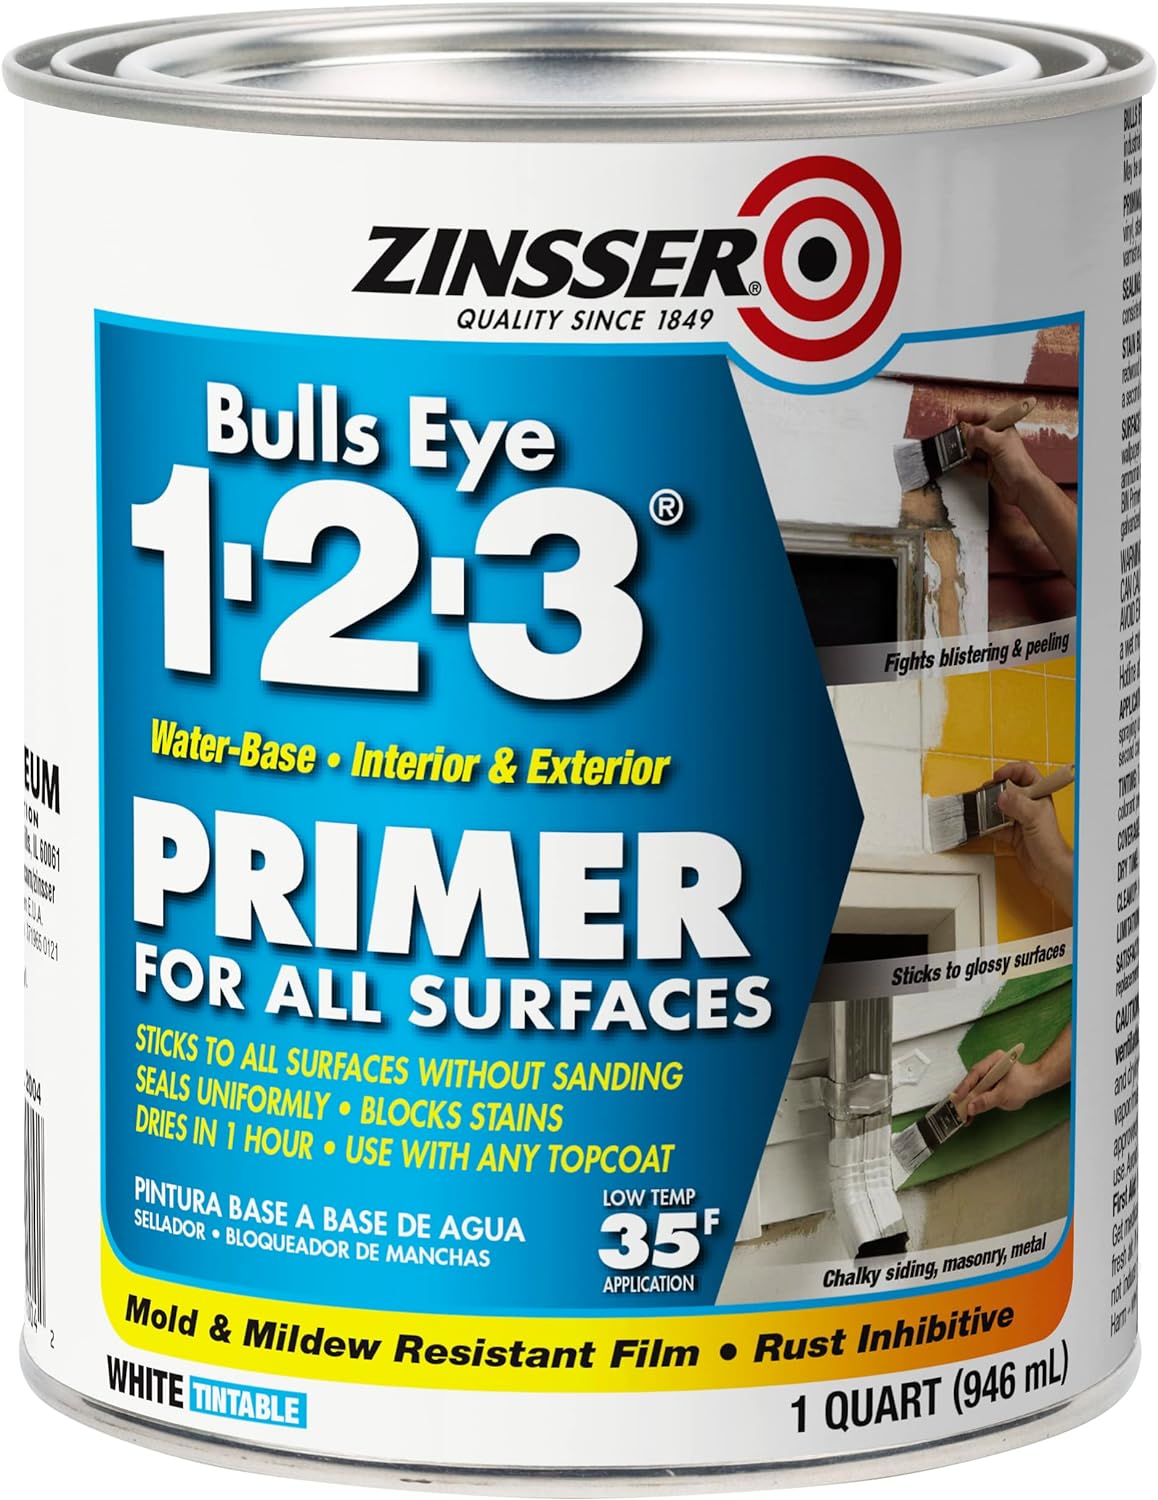
Primer is the key to a quality finish for your kitchen cabinets.
You don't have to be perfect with the primer, but you do want to be thorough.
Apply a coat to everywhere there will be paint.
Let each piece dry and then do a light sand.
Clean and vacuum and then you'll be ready to move on to painting!
In addition to featuring our favorite brand of primer (especially for cabinets), be sure to take a look below at our favorite tool that will make this process SO much easier.
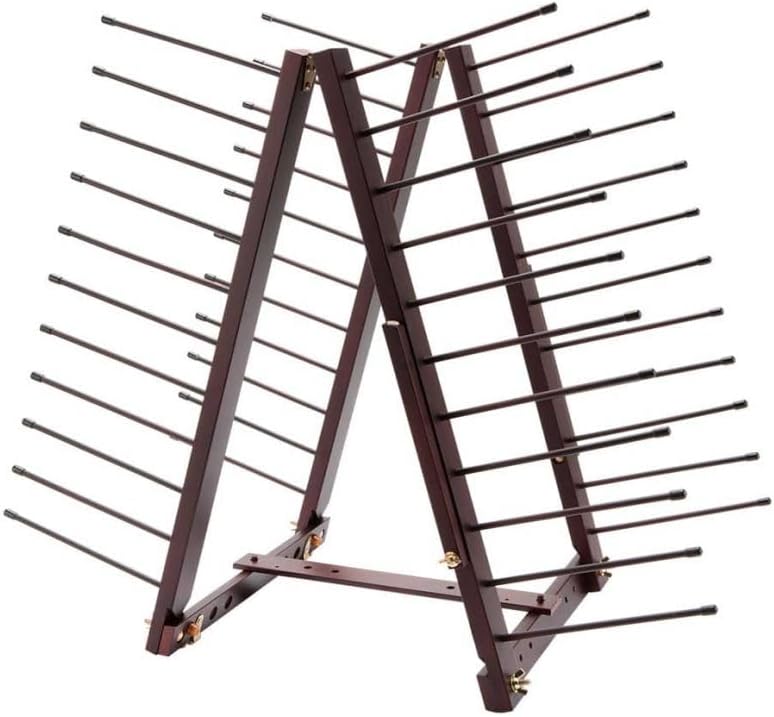
This nifty $60 drying rack will make the process of painting all of your cabinet doors and drawers so much easier.
Simply paint and set aside to dry and move on to the next.
This takes five minutes to set up and is a favorite tool!
Buy it here!
Paint Away!
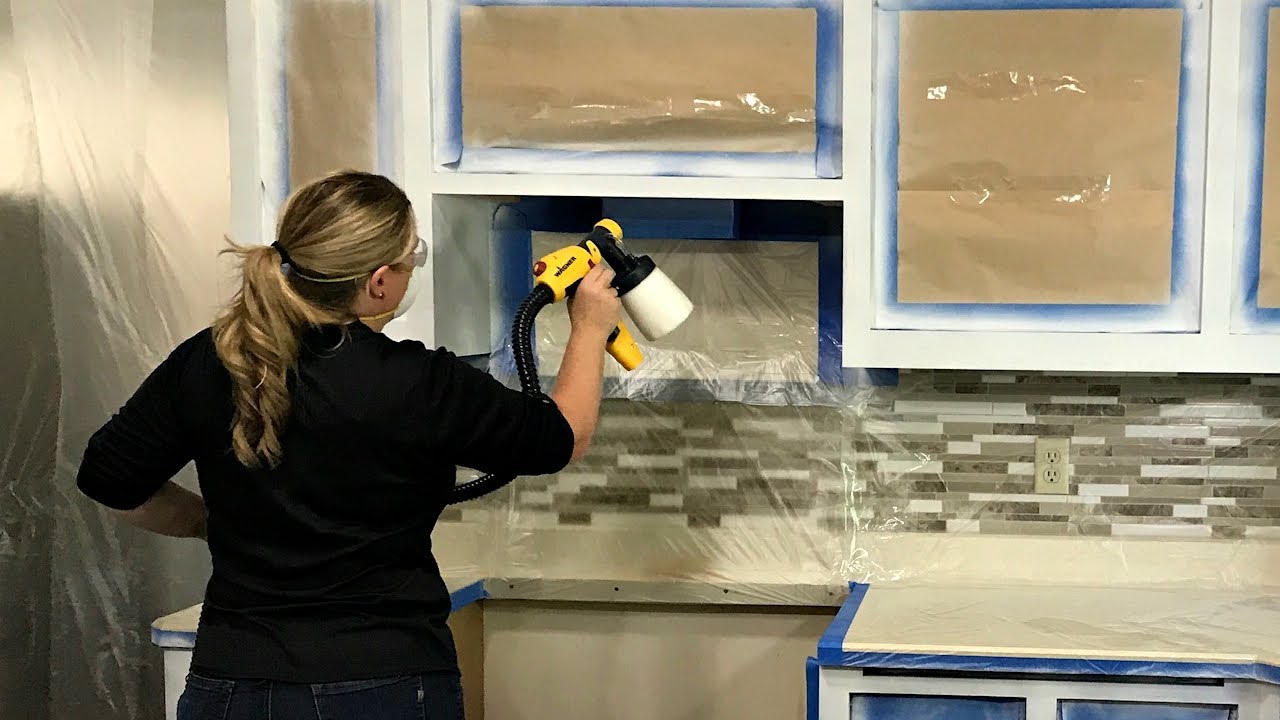
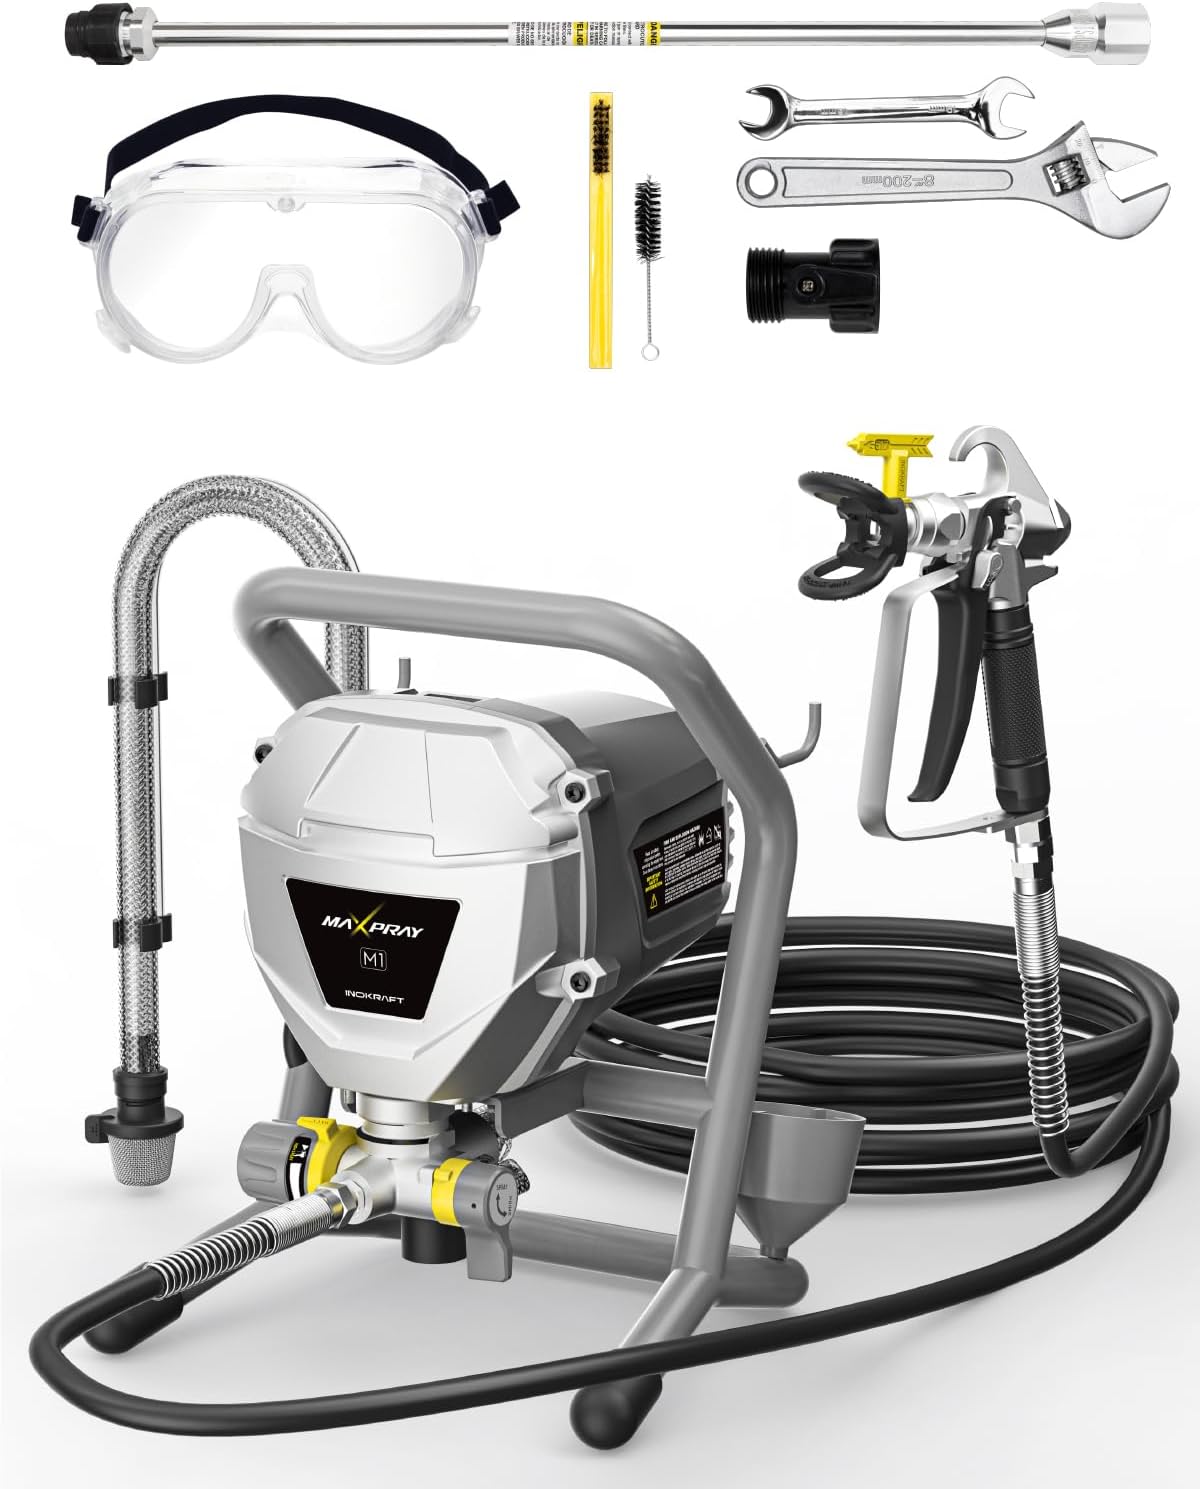
For the actual painting process (and priming), we highly recommend you use a paint sprayer.
This will not only help to minimize brush marks, but will make the process so much faster and more enjoyable.
There are a huge number of these sprayers on the market, but we've recommended our favorite for this particular job below.
You want to be sure to do thorough but gentle sweeping strokes back and forth. Take a few minutes and try out your paint sprayer on some scrap wood or paper to make sure you know how to you use your equipment and get the most out of it.
Be sure you buy a unit that has an adjustable nozzle allowing you to expand or contract the amount of paint flow easily.
Trust us, painting will never be the same again.
When it comes to paint sprayers, there are a lot of different models out there to choose from.
For our purposes, we went the more professional route, but you may not need something so heavy duty.
That said, be care not to be cheap here. Saving a couple of hundred dollars by buying a crappy paint sprayer might negatively impact your overall project.
Take the time and shop for what's right for you. And even though, we're recommending this particular model off Amazon, we encourage you to head down to your local Home Depot, Lowe's or Ace and find the one that feels right to you.
If you choose the right unit you'll soon discover that painting is a fun and easy chore that has lasting effects for decades.
But if you're looking to move on something right now, here's our choice.
Painting Your Kitchen Cabinets:
Reference Videos
As promised, we wanted to provide a couple of links to some videos that we think best outlines this project in an easy to understand manner without getting too hung up on the details.
Take a look at each of these and by the time you're done watching, we promise you'll be ready to dive in head first to painting your kitchen cabinets and giving your kitchen the once over it so deserves.
Thanks for reading!
Recent Articles
-
Top 10 Refrigerators 2025 - Editor's Picks and Reviews
Jun 24, 25 03:58 AM
Discover the Top 10 Refrigerators 2025. Our editors rank the best models for every budget, kitchen size and style -- and help you find the best price. -
LG, Bottom Freezer, LDC22720ST
May 02, 24 01:00 AM
Bought an LG Bottom freezer refrigerator from a well known explanation point department store. And purchased the 10 year warranty for major components. -
Is it safe to set a full size refrigerator on carpet?
Jan 18, 24 05:18 PM
I have a full size refrigerator with top freezer. Is it safe to run it setting on a carpeted floor, if not what can I put under it? The unit is brand

